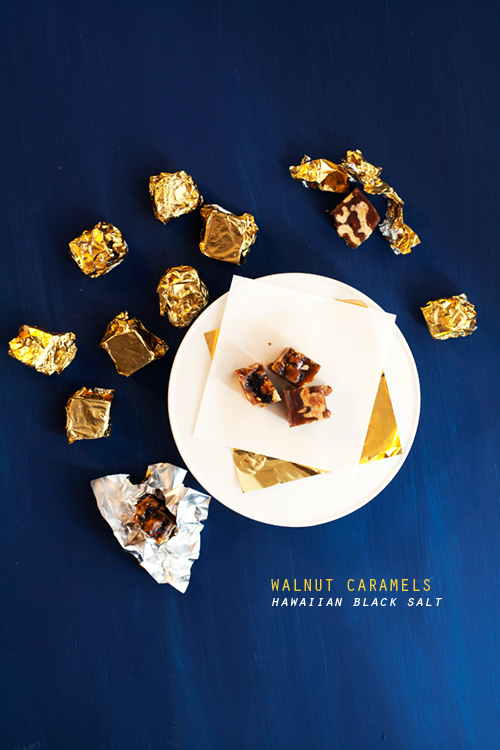
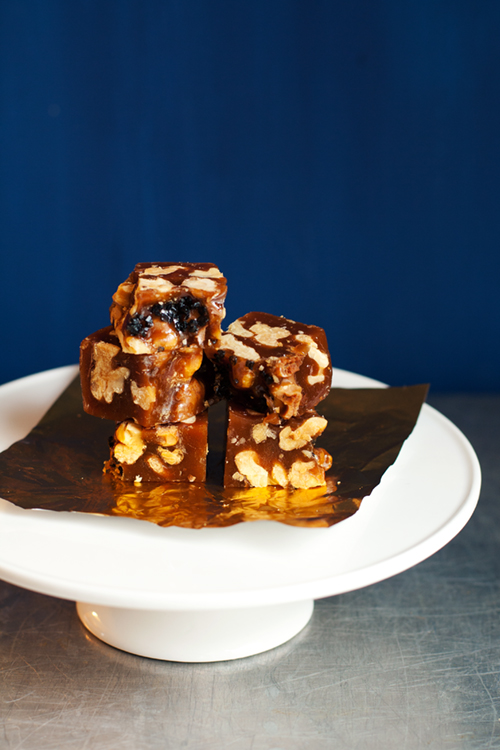
Hey! I have yet another salty-sweet combo for you today. This time in the form of nutty, chewy, caramels.
I pretty much make a batch of these caramels every year–with or without nuts–for certain friends and family members around the holidays. These caramels ship well AND can be made several days in advance AND you won’t even have to rush the shipping…plus, they won’t get damaged by rough handling. I love a treat that doesn’t cause me stress when it comes to shipping and sharing.
These walnut caramels start out by cooking sugar with a bit of water and some syrup (golden, corn, and honey all work nicely). The syrup helps the sugar from re-crystalizing and keeps the caramel smooth and free of gritty granules. Once the sugar becomes deeply golden–as dark as you dare, I shoot for a rich bourbon/whisky color–warm cream, butter, vanilla, and sea salt are added. There’s a lot of hissing and steaming and fuss at this point, but everything mellows out and comes together. The caramel is then cooked a little longer until it comes to temperature–key for a set caramel–it’s then mixed with plenty of toasty walnuts, scraped into a pan, and liberally sprinkled with black salt. The caramels are chewy, nutty, crunchy, and salty-sweet. I think they are really pretty wrapped in gold candy foils–like little gold nuggets–but parchment or wax paper is nice, too.
Walnut Caramels with Hawaiian Black Salt
adapted from this recipe
I love the black salt on these because it’s super -dark color makes for a dramatic piece of candy, but don’t feel like you have to go out and hunt for fancy salts. I have a variety of salts on hand, mainly because whenever I travel (or friends/fam travel) my favorite souvenirs are edibles–specifically specialty/locally harvested salts and honeys. Every time I use one of my fancy salts, I remember the trip or the people or the place–it’s a nice, edible reminder. This black salt–also called Hawaiian Black Lava Salt–was a gift from one of my brothers-in-law. It’s dramatically black, a bit mineral-y, and super crunchy–which is a great contrast with the sweet and chewy caramel.
1 1/4 cups granualated sugar
1/4 cup golden or corn syrup, or honey (honey will impart a distinct flavor)
1/4 cup water
3/4 cup heavy cream
1/2 teaspoon sea salt (a touch less if using table or kosher) plus more for sprinkling
1/2 teaspoon vanilla extract
4 Tablespoons unsalted butter
1 generous cup toasted walnut pieces (I like halves and large pieces)
Prepare a standard loaf pan by lining with parchment, leaving an overhang on the two long sides, securing parchment with binder clips, and spraying the parchment and pan lightly with canola oil.
In a small sauce pan, gently heat the heavy cream, butter, salt, and vanilla. Bring to a bare simmer and remove from heat, set aside.
In a heavy bottomed, medium saucepan gently mix sugar, syrup, and water until everything is well moistened. Heat the sugar mixture over medium-high heat until sugar dissolves and a clear syrup forms. At this point, it is important to not stir the sugar syrup–or it will re-crystalize and you will have to start over…if you must, you can swirl the pan, but mostly leave it alone. Continue to cook the sugar syrup, without stirring, until it becomes deep golden brown–it will start off a light honey color, but try to take it to a whiskey colored golden-brown. Remove the sugar syrup from the heat and add the cream/butter mixture and stir to combine well. The caramel will hiss and steam violently–I recommend using a long wooden spoon and covering your stirring hand with an oven mitt.
Clip on your candy thermometer and continue to cook the caramel over medium heat, without stirring, until the thermometer reads 260*F (I found that at higher elevations, above 4,000 ft, the caramel becomes too hard–when I lived in Nevada, I always cooked to about 250-255*F). Remove the caramel from the heat, quickly stir in the nuts, and scrape into the prepared pan. Allow to cool about 5 minutes before sprinkling with salt–this keeps the salt from sinking into the caramel, but still allows it to stick nicely to the top. Allow caramels to cool before cutting into squares and wrapping. Can be stored in an airtight container for 2 weeks.


Hawaiian black salt sounds so fancy! Perfect to go with these gorgeous caramels!
thanks Averie!
I love the idea of adding nuts to caramel! Yours look beautiful.
thanks Katie!
The only kind of drama I want in my life is that dramatic black salt. I need it!
keep the drama for yo’ llama! I don’t know…but, yeah, a girl just needs all the salts.
these look great & i love caramel in any form, but what i really want to say is, BINDER CLIPS! BRILLIANT! i always fight with the parchment.
yes! binder clips are so handy!
Oooh I need to get my hands on some of that black salt! I am the same as you in the sense that I love to collect honey and salt on my travels! I am a long time reader, first time commenter and I just LOVE your space 🙂
Thank you Anna! I’m glad you came out to comment 🙂
These look delicious, and photographed so beautifully. I love the colour of that beautiful blue fabric.
Thanks Sarah. The blue is actually just craft paint on a piece of foam board 😉
I adore caramels. It is great that they are so easy to share and even ship. These are some seriously jazzed up caramels.
Thanks Laura!
How inappropriate would it be for me to make a batch of these as gifts, and then eat them all myself?
not at all…I’ve totes done it before.
I am so making this tomorrow! I’ve been looking for little homemade gifts to give out and these are perfect. I even stole your idea for the gold wrappers and picked some up. I plan to put them in half-sized mason jars and tie with a ribbon. Thank you!!
cute! just make sure to not use the paper squares in between the foils—they stick!
Beautiful AND delicious looking! I love the binder clip idea for the parchment too…there is so much cursing in my kitchen whenever I have to deal with parchment 🙂
thanks Maggie, parchment can be a total jerk sometimes!
These are so gorg! I completely agree that the gold foil wrapper is the best outfit for your treats. Nicely done.
Thanks girl!